
Today I am bringing you a bookmaking project but it is not your average book. I was browsing through my collection of art books looking for inspiration when I revisited Alisa Golden's Expressive Handmade Books. (If you are in anyway interested in learning more about handmade books I highly recommend checking her books out.) The book structure that caught my eye is the Square Flexagon. The Dictionary defines Flexagon as a "folded paper construction that can be flexed along its folds to reveal and conceal its sides alternately." And no, it's not origami because you'll use scissors and adhesive to create it and the structure has its roots in mathematics. Don't be nervous! Here we go!
The square flexagon starts with a square piece of paper (surprise surprise!) and for mine I used a large 18x24 inch piece of Strathmore Mixed Media paper which I cut down after I had both sides decorated.
On one side I used Inktense blocks to rub colors all over the surface and then using a dry brush and a water spritzer I moved the color around and set the ink.

When that was dry I used the same blocks to create a multitude of skinny stripes all along the paper.

Then using the largest Dot stencil from Artistcellar's Halftone Dots Series and white gesso I added several sections of faint white dots.
The other side of the paper started the same with rubbing the sides of the inktense blocks on the surface and wetting the ink to move the color around.

Then I used clear gesso with the largest Halftone Dot stencil and the Open Work stencil from the Artistcellar Blocks series all over the surface. This will create a resist.
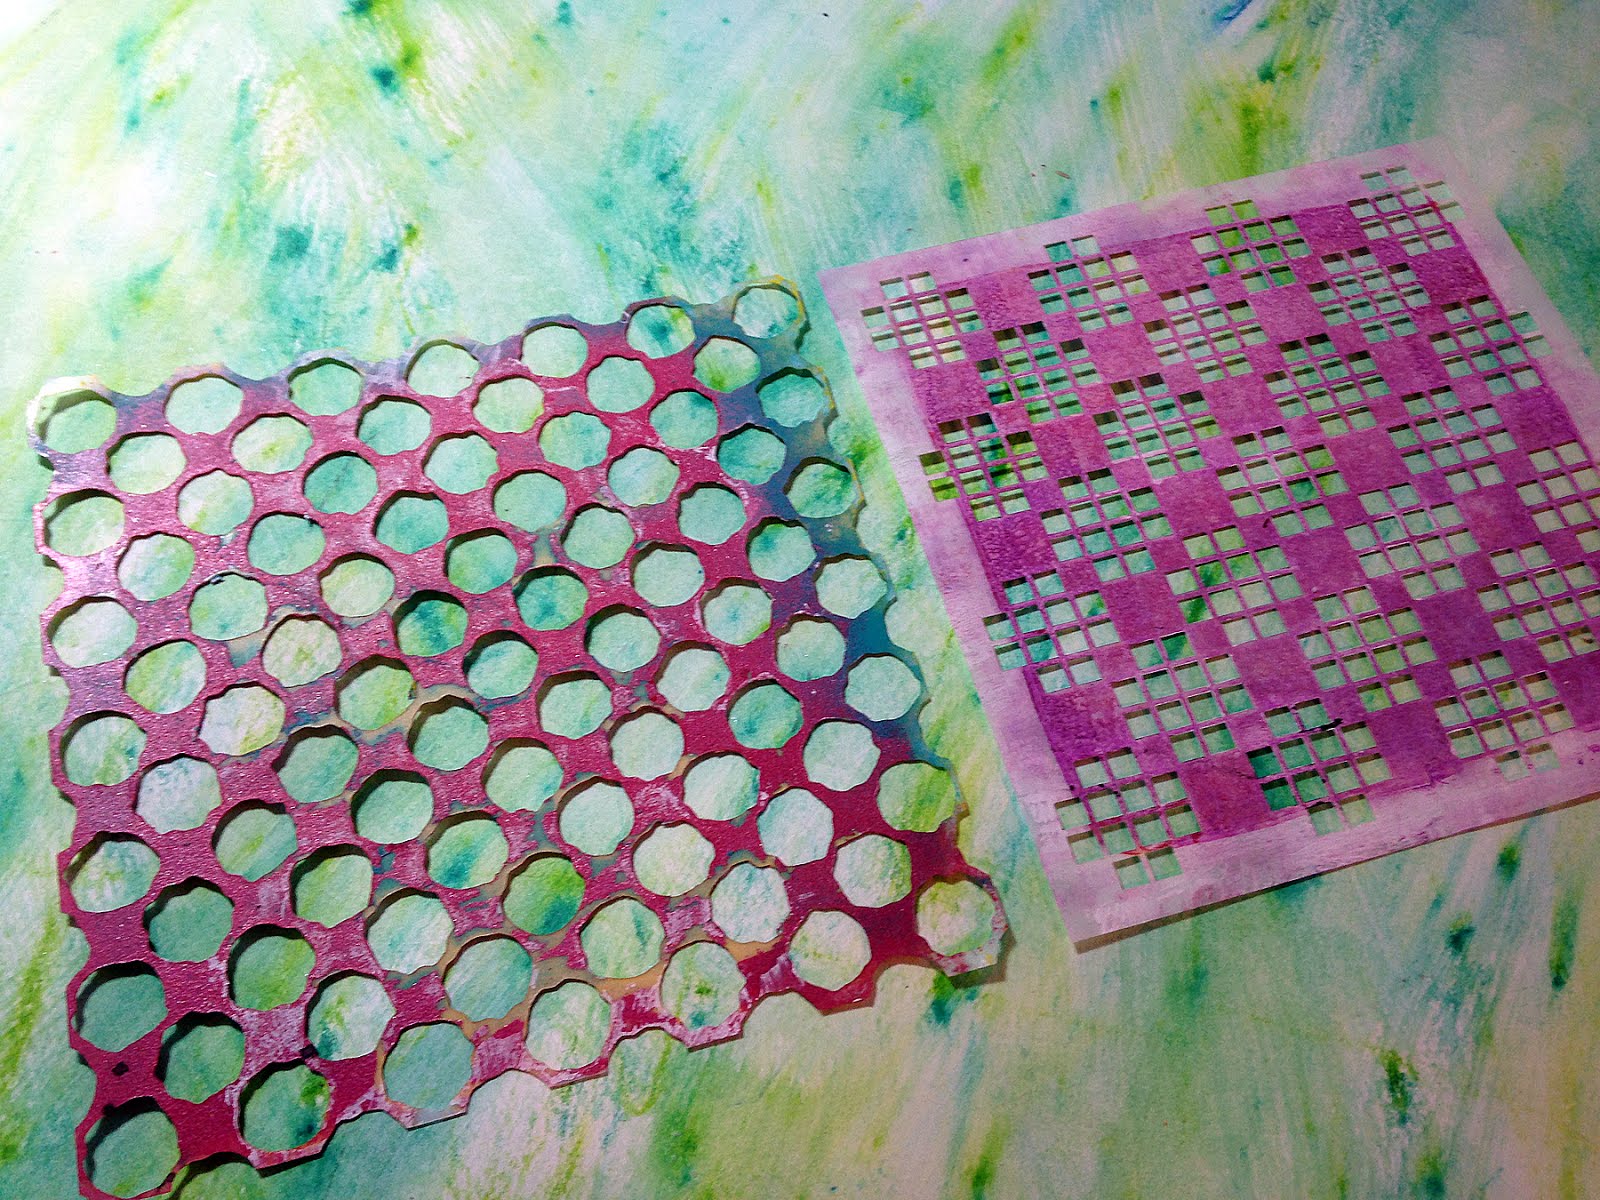
Once the gesso was dry I sprayed the entire surface with some Dylusions ink sprays and then wiped off excess ink with a paper towel.

The resist effect was subtle but nice.
I wanted to bring back more white into the design so using the same two stencils and white gesso I covered the surface with alternating dots and squares.

To contrast all the small elements going on I decided to paint a large circle design as the final layer. I used yellow Dye na flow first and then Dina Wakely's Night color on top. Bam!

Now's the time I cut my paper down to a square.

There is a great contrast between the two sides. One is lighter and easy going. The other is darker and complex. I can see how these foundations can work together to create a thoughtful dialogue. As an artist I try to communicate SOMETHING in every piece of art I create and using a handmade book as the structure makes it even more interesting!
Here is the paper after I have made the folds and cut out the middle. (Which I also made into another square flexagon!)

Here is the result! Fun, right!?
Many thanks to my eldest daughter for the wonderful hand model work!
Now comes the content but I will be working on that later. I have some thoughts and reactions that I'll get down on paper but I want to get them right before I decide how to put them down on the pages. All in all there will be 6 different "pages" to fill. Personally, an artist's book must have content to give it meaning. Whether that content is words, pictures or even the materials the book is made of. I hope you give this fun book structure a try!
What is the story you would tell?
No comments:
Post a Comment