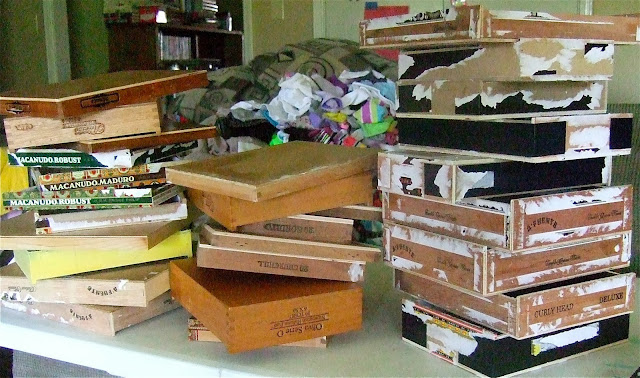
After I got them home I removed hardware and ripped off the paper covering. (sidenote: I learned later that I could have used a heat gun on some of the paper/stickers to ease the removal process. Will remember that for next time!)
The next step is sanding. Some boxes are just varnished and to get my gesso to stick I need to remove it. I also sanded down the labels I was unable to remove.
 |
| In progress photo. Yes, that is laundry ready to be folded behind the cigar boxes. Priorities, people. Priorities. |
Now it is gesso time! 2 to 3 coats later and we are ready to add texture.
To do so I spread a thin layer of joint compound on top of the dried gesso. After letting it dry for a just a few minutes I pressed various textures into the surface. I used things like bubble wrap, shelf liner, foam circle, lines, etc. By letting the joint compound dry for a little bit makes it less squishy (yes, that's a technical term)
When that is dry I will do a thin layer of gesso, paint, glaze or matte medium to seal the joint compound. It's important to use a light hand and not to scrub too much or the texture you created will disappear.
All ready for the magic to begin!

No comments:
Post a Comment